If you grew up with Lego’s as a kid like we did here at
CategoryOneGames, then you have a fondness for the Star Wars Lego’s
collection. Lego’s took two of the things we like the most and
combined them into pieces of artwork that looks great on a bookshelf.
Guest author Mark Peterson is going to walk us through how he put
together the Lego Y-Wing and give us an overall review of his project.
Lego Y-Wing Review
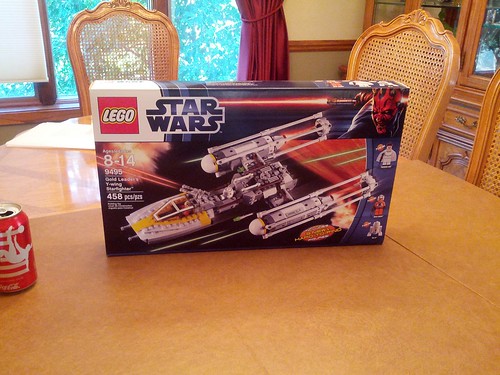
It’s time for a Lego Star Wars Review! I’ll be looking at Lego set 9495: Gold Leader’s Y-Wing Starfighter. (for the TLDR version, scroll down to the pictures)
I got into Lego Star Wars for the first time last year (courtesy of a misdelivered Lego catalog), and after buying a few smaller Star Wars sets and receiving a Millennium Falcon set as a Christmas present, I ended up purchasing the Executor Ultimate Collector set when Lego had a May the 4th promotion this year. Anyway, I posted a bit of a review here on the SWCCGPC forums detailing the building of it (which can be found here), and thought it might be a fun idea to look at a few other Lego Star Wars sets out there currently.
Right now The Clone Wars animated series is rather popular, so Lego is pushing sets for that pretty hard, but they don’t really interest me at all, nor do the prequel sets. I’ve also steered away from minifigure-heavy playsets since they don’t really interest me too much either, and are usually quite overpriced for what you get (see the $120 MSRP, 717 piece Jabba’s Palace set for a good example of that). Instead I’ve been sticking to classic trilogy ship models that are good for putting on display as well as the occasional swooshing. Luckily there were quite a few classic ships in the 2012 wave of sets, including an X-Wing, a TIE Fighter, and a Y-Wing. Since Lego has had the Star Wars license for over 12 years now, all 3 of these ships have been released several times in different incarnations. In addition to the original trilogy version of the Y-Wing, there was also a Clone Wars version of the Y-Wing released in 2009. Also, both the X-Wing and the Y-Wing have received the Ultimate Collector’s treatment. (In fact, the Ultimate Collector X-Wing was THE FIRST Lego Star Wars set ever, part of the first wave of Lego SW sets released in 1999.)
I ended up buying both the X-Wing (set 9493) and the TIE fighter (9492) for a bit under retail by being patient on ebay. Unfortunately I didn’t really take any pictures with these 2 sets when putting them together, although I may revisit them in the future. Suffice it to say they are both great updates on classic sets (both have been substantially redesigned when compared with their previous versions) and are totally worth buying; the X-Wing is especially good. It uses some interesting building techniques to make the body and the wing opening mechanism. It also comes with a Porkins minifigure! As an aside, you do have to watch out on ebay though, as many auctions will seem incredibly cheap until you read the item description and find out they have been opened to have the minifigures removed so they could be sold separately. This is apparently quite a lucrative venture given the crazed SW collectors who are driven to acquire every minifig ever released.
After that I set my sights on the Y-Wing (set 9495), which unfortunately is a Toys R Us exclusive in the US, meaning you have to either buy it from TRU or directly from Lego at one of their stores or online. A small bit of advice: don’t ever buy Lego sets at TRU unless they are massively on sale, as their list prices are the sleaziest and most greedy pricing of toys I have ever seen. For example, there is an Ultimate Collector R2-D2 set currently on sale in Lego’s own online store for $179.99, but at TRU, it is 199.99. The TIE fighter set I mentioned above is 54.99 from Lego, 59.99 at TRU. The Y-Wing is 49.99 at Lego, 54.99 at TRU. Basically most of their sets are marked up $5-10 over MSRP. Even the X-Wing set, while supposedly priced the same between Lego and TRU at $59.99 has a “list price” at TRU of 69.99, which is crossed out and replaced with the 59.99, trying to make it look like they are giving you a great deal when all they’ve really done is brought their outrageous price down to MSRP. They do seem to have a fair amount of sales and special discount codes for their online store, but I would absolutely look somewhere else first before buying there, because chances are someone else has it cheaper. Unfortunately, the Y-Wing is exclusive to TRU, which means it’s almost impossible to get for below MSRP at places like ebay or amazon the way you can for other sets. After waiting for several months, TRU eventually had a 20% off all Lego Labor day sale and I finally pulled the trigger. On the plus side for TRU, they have a nice store pickup option for their online store and there is a TRU about 5 minutes from my house so I didn’t have to wait for it to be delivered or pay shipping. The set is 458 pieces, so the MSRP of $49.99 isn’t too bad as far as price/piece ratio goes (11 cents), though direct from Lego you also have to factor in tax and shipping costs too. The magic ratio for Lego sets is $0.10 a piece; luckily I picked it up for $47 with tax and no shipping so it was close enough for me. Enough talk, on to the set itself…
So here is the box, front:
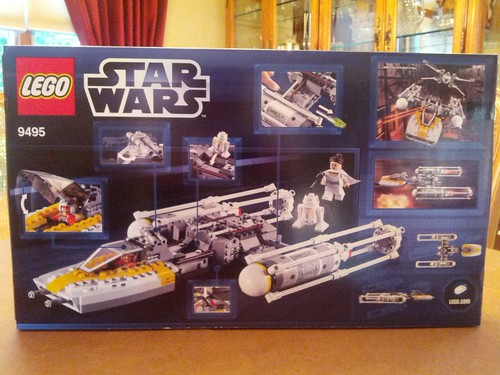
and back:
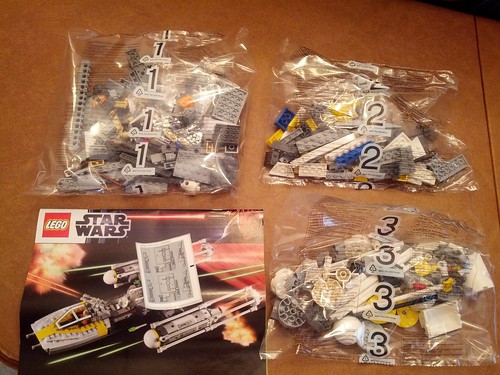
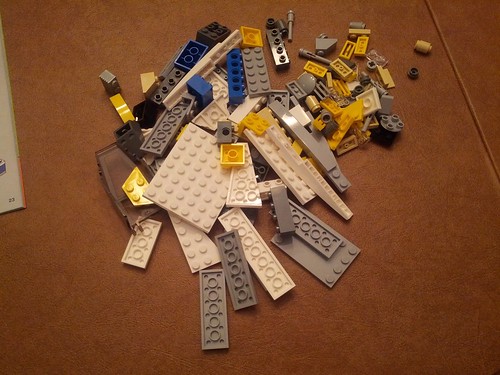
In the box are 3 numbered bags, a sticker sheet (booourns!), and a manual.
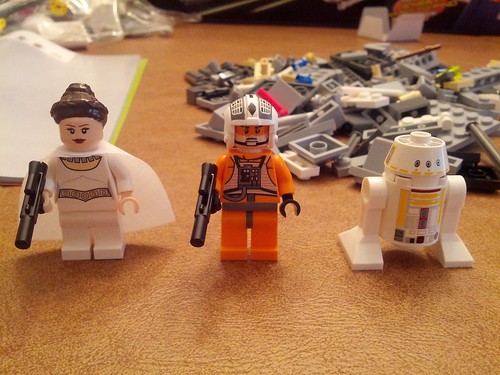
The first bag contains the main body of the ship along with the 3 minifigures- Gold Leader, R5-F7, and Leia in Ceremonial Robes. Leia doesn’t really make much sense here but Lego loves putting in unnecessary minifigures in sets to jack up the price they can charge. Also, oddly enough, R5-F7 isn’t Dutch’s astromech; according to Wookieepedia he was actually on Gold 4 with Lieutenant Lepira and not on Gold 1, so IDK why he’s here… :??? Still, it’s nice to have Lego R5 units now (the different shaped head pieces compared to the R2s are a relatively new design for Lego). Here are the minifigs with the contents of bag 1 behind them.
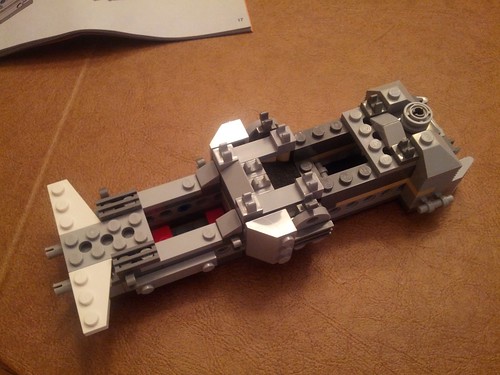
The first section you build is the main fuselage of the ship, which includes the slot for the astromech droid (the red pieces are where the legs attach).
Next comes the wing struts that connect the engines to the main hull, along with the obligatory lame flick fire missiles (they don’t shoot far enough to be worth all the extra pieces and mechanics needed to fire them), and some cool detail with greebles and piping on the hull.
The engine struts are then connected to the main body by way of 2 technic pieces on each side.
Finally, bag 1 finishes off with a little more detail and external piping being added to the ship to complete the body section. The hole in the middle of the ship behind the astromech slot is for loading a couple ‘bombs’ that can be dropped by opening a hatch on the bottom of the ship (more on that further down). It’s a nice nod to the fact that the Y-Wing was often used as a bomber.
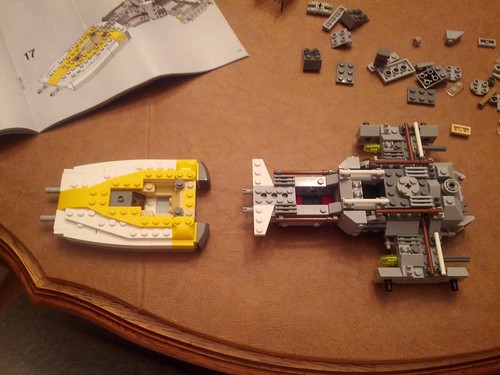
Bag 2 is made up entirely of pieces for building the cockpit section.
Before adding the canopy, the cockpit is also plugged into the rest of the ship using technic connectors.
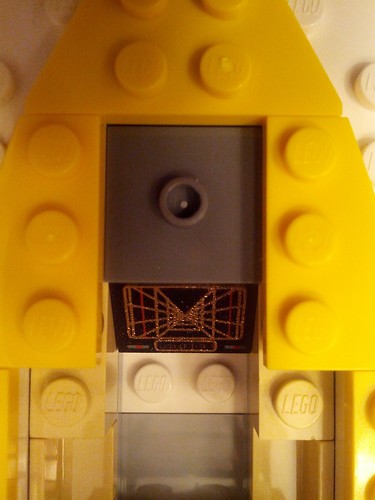
Here’s a zoomed in view of the inside of the cockpit showing the cool printed piece that has the Death Star trench and the targeting computer readout on it. What the very prominent 2×2 gray plate is for, I’m not sure. There’s no other control panels or control sticks or anything that go on it, but it kind of seems like there was supposed to be something in that spot. Did they forget about it or what? idk…
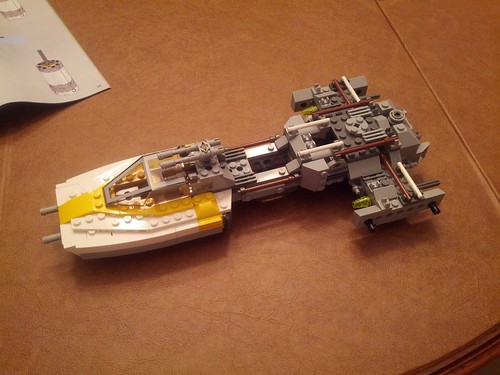
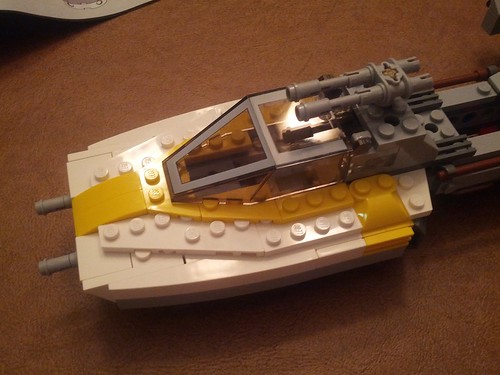
Finishing up bag 2, the canopy and ion cannon turret are added to the top of the cockpit.
Here’s a closeup of the cockpit, showing off the interesting way Lego created the sloped wedge shape and gold striping as well as the gun turret. The sides of the cockpit are sloped pieces that are attached sideways to give the section its wedge shape. It’s a nice effort, but it seems a little too boxy, and I think the cockpit design on the previous version of the Y-Wing worked a little better than what Lego did here.
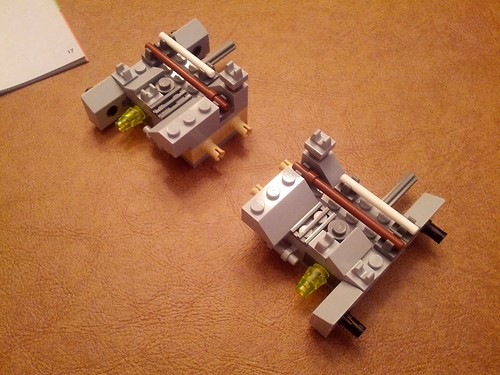
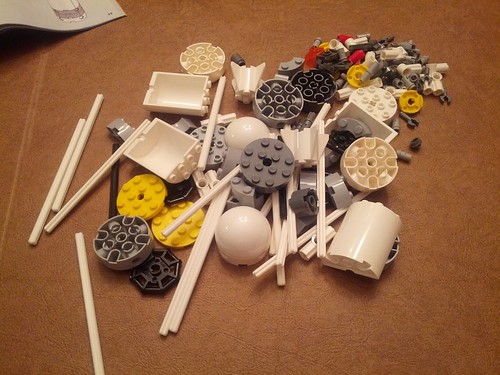
Bag 3 contains everything needed to make the engines, and includes quite a few interesting pieces.
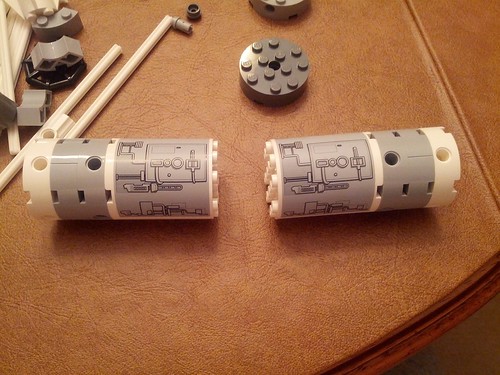
The first step for making the engines is to make the cylindrical parts that connect to the rest of the ship, which requires a bunch of rounded pieces stacked on top of each other. These are then attached the rest of the ship with technic connectors. The partially completed engines are shown below, with the stickers Lego used for some of the engine details, which I am not a huge fan of. The last version of this ship used bricks and other pieces for the engine details, and they should have stayed with that. Stickers are a pain, especially when you need to apply it around a cylindrical piece. At least the section where the stickers go are one long molded piece, so you don’t have to worry about the dreaded STAMPs (STickers Across Multiple Parts).
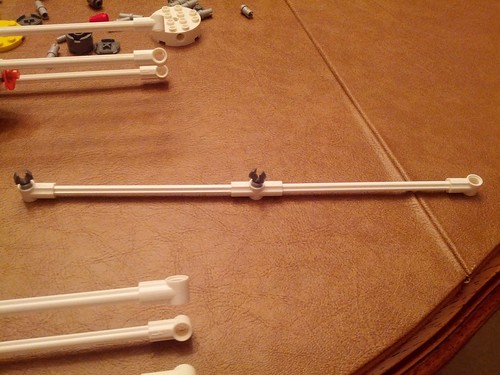
After that, the 4 black octagonal pieces (one can be seen in the bottom left of the “Bag 3 pieces” pic) are added to each end of the engines; these are where the wing struts that run the length of the engine nacelles attach to the engines. Creating the engine struts themselves is a rather monotonous process, as it involves making the same thing 8 times (a single one is shown below).
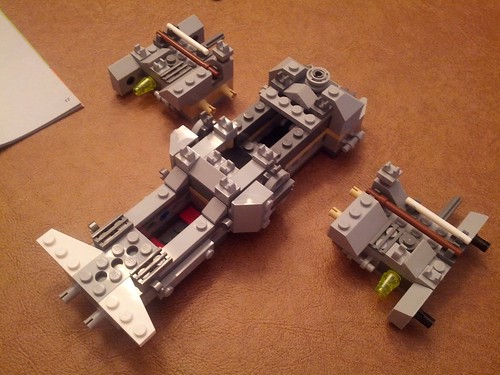
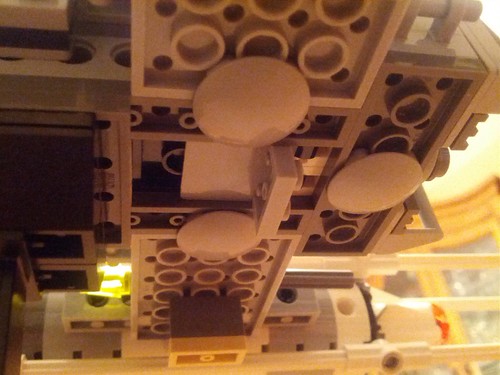
The struts are then clipped onto the engines, and the front of each engine is covered by a white half sphere piece (which was improved from the last Lego Y-Wing, that one had a golf ball like texture that looked rather awful, this one does not). Then each strut is connected to a circular piece at the back of each engine.
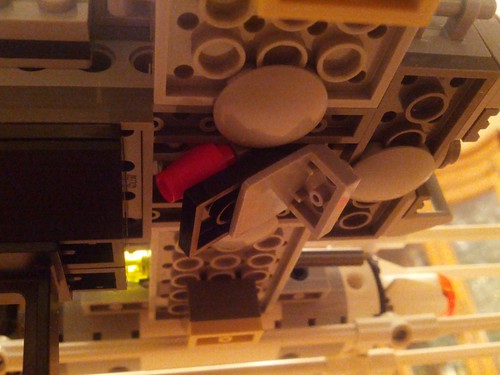
A couple of the aforementioned “bombs” (just a 1×1 cone piece and a 1×1 cylinder stuck together) are made and placed in the “bomb bay”.
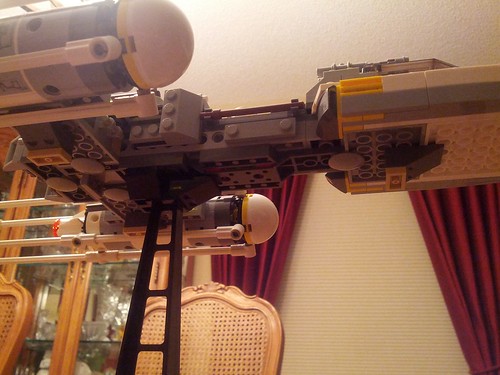
Here’s a shot of the bottom just to show what the detail is like on the underside, that is to say, not much at all, but par for the course on Lego sets. It’s a little bare, but I’ve seen worse. It has 3 dark gray sloped bricks with 1×2 tan plates underneath them as “landing gear” that the ship would normally sit on, though I built a display stand of my own.
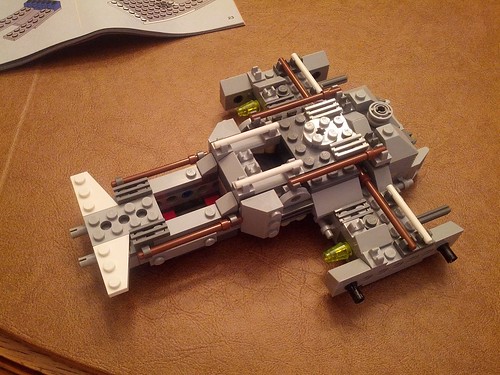
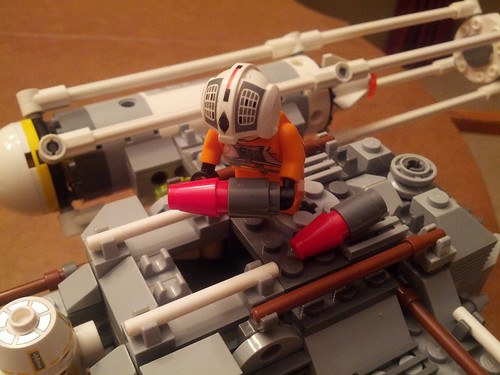
Finally the minifigs are placed in the cockpit and astromech slot to complete the model. One thing that is slightly annoying is that the astromech goes in the wrong way, facing “sideways” instead of facing the front of the ship. Lego has been doing this recently with all their minifigure scale sets (the X-Wing does the same thing), and it’s a little annoying. On the other hand, I’m not sure there’s an easy way to to accommodate the width of the droid minifig in the “correct” position without making the ships wider than they should be, so I guess I can live with it this way. What you can do is take off the head piece of the droid and turn it 90 degrees so it faces the front.
A pic of the bomb bay:
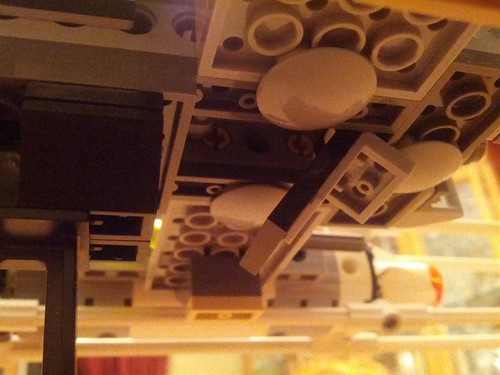
Bombing run commencing…
It’s away!
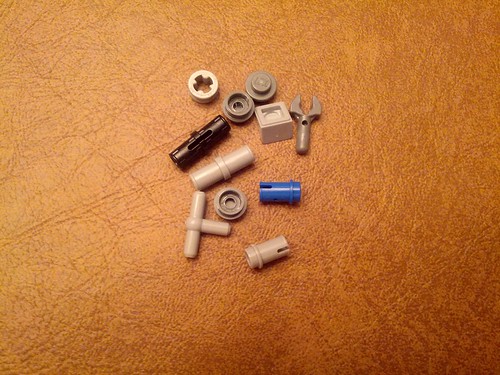
Here’s a shot of the extra pieces; Lego gives your quite a few extras for the smaller ones.
There’s not really a good place to put Gold Leader’s blaster rifle, so Leia gets 2 of them, action hero style. Well somebody has to save our skins!
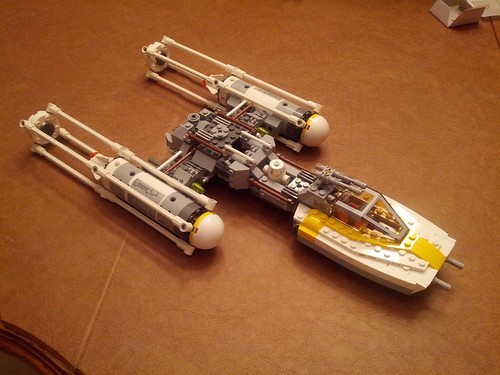
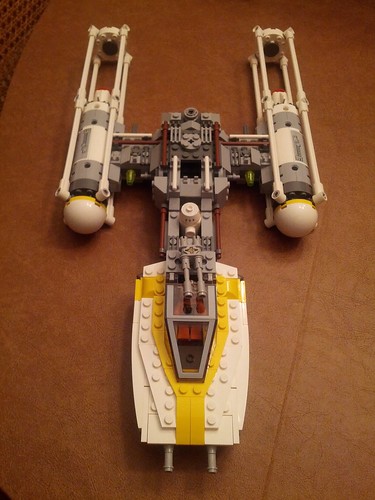
All in all it’s a great set, it has some nice detailing that you can tell has descended from the design of the ultimate collector version from a few years ago. It is accurate enough to work as a display piece but it is still small enough to have a good amount of playability and solid enough to be quite swooshable. It’s definitely worth the MSRP, although in the US I’d advise you to either get it direct from Lego or wait for a sale at Toys R Us, since the regular price at TRU is a ripoff.
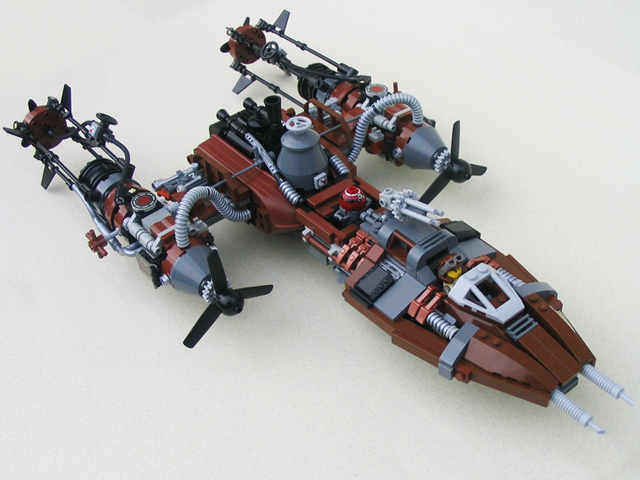
Before I finish, I’ll post one more picture for funsies- a steampunk style y-wing created by someone called “Larry Lars” for an old Star Wars Steampunk contest on the Lego fansite From Bricks to Bothans. There are some more finalists from that contest here.
Finally, there was another set that I purchased recently that I didn’t really talk about in the intro, but I had a lot of fun making it and took quite a few pictures while I was building it, so a review of that may be coming sooner or later, whenever I get around to doing another one of these writeups.